Why to do a DIY home energy assessment
Amidst ever-growing concerns related to the cost of living crisis, there’s never been a more prudent time for UK homeowners to take heed of their property’s energy usage, and look to identify areas in which their operations can be improved. And although the conduction of a professional energy audit remains, somewhat obviously, the most thorough means to do this, the opportunity exists to perform your very own do-it-yourself home energy assessment and highlight some of the more glaring potential alterations to be made in key spots you could be losing energy.
The good news is, all you really need to begin with is a pen and a pad; you can start by taking a walk around the house and producing a checklist from room to room, making a note of any problematic areas. It is important to remember that even if you inhabit a recently constructed property, there’s most likely still some scope to save energy and enhance efficiency, so don’t dismiss the chance to do so. Such is the rapidly advancing rate of energy-saving technology in recent years, even new build homes can quickly become a touch outdated as it pertains to best energy practices.
So, just what are the best ways to make sure your house is performing as energy efficiently as possible?
Let’s break it down.

What to look for in a DIY home energy audit
So, how do you actually perform a DIY home energy audit? There’s some relatively simple means to identifying energy efficiency improvements, in turn leading to lesser utility bills, as listed below…
Locate draughts
To begin with, locate any obvious draughts in the home, or air leaks. The advantages to finding and addressing draughts couldn’t be more apparent; not only will their absence make the home a much cosier and comfortable living space, but their elimination can also result in energy savings ranging from 10 to 20 per cent.
A handy hint when searching for indoor air leaks is to scour the skirting boards and zone in around the edges and baseboard of the flooring, also paying attention to corners and meeting points of encasing walls and the ceiling.
Be sure to search for draughts on the outside of the building as well, paying particular attention to the meeting spots of contrasting building materials. In addition to these areas, closely inspect the doors, windows, plumbing and lighting fittings and any electrical outlets and switches.
Make a note of any noticeable draughts and the exact areas you find them to refer back to.

Scope out insulation levels
You could be on a hiding to nothing in terms of enhancing home energy efficiency if you don’t have adequate insulation levels, no matter how powerful your designer radiators might be – expect significant heat loss through the ceiling, floor and walls of the building if your insulation is below the minimal recommended degree.
It is most likely that whoever constructed your property did so following the recommended insulation guidelines of the time. And considering the immense volatility of energy costs in recent times, and likely rises moving forwards, it is very plausible that your level of insulation is outdated, particularly if your home was built a while ago.
Should the attic or loft hatch be positioned above a conditioned area, examine whether or not it is as effectively insulated as the attic space itself, if it is weather stripped and properly sealed to tightly close. Also, within the loft, make sure that any potential gaps that may be present nearby the likes of chimneys, pipes and ductwork are tightly sealed with a permanent sealant such as expanding foam caulk. It is imperative to use a non-combustible version when closing openings around a chimney or alternative heat source appliance or structure.
And whilst sticking with the theme of attic assessment, look beneath your loft insulation to see if a vapour barrier is present. The barrier could come in the form of a plastic sheet, tarpaper, or Kraft paper stuck to fiberglass batts. If none of these elements are formed, one effective option is to use vapour barrier paint to touch up the attic’s interior ceiling. This will greatly decrease the level of water vapour that can enter via the ceiling, thus repelling the prospect of heavy moisture reducing the effectiveness of insulation and causing structural harm.
You’ll also want to check that exterior loft vents are not being covered up by insulation. If a blockage is occurring, baffle vents are a viable choice to enable air flow into the attic area. Any gaps or minor openings like electrical boxes on the ceiling should be sealed using flexible caulk, whilst the full floor space wants to be shrouded by the current recommended level of insulation at the very least.

The process of checking wall insulation levels is a touch more involved. First, choose an exterior wall and switch off the circuit breaker or disconnect the fuse for all outlets in the wall. Then test these connection points to ensure they are not heated up. You can test these by plugging in a low power device such as a portable radiator or a desk lamp. When you are certain no electricity is reaching the outlets, take out the cover plate from one of the sockets and use a long stick or a screwdriver to gently prod into the wall. Plastic crochet hooks come highly recommended for this vice, as they will collect tiny amounts of excess insulation materials to be easily identified. If you notice a slight sense of resistance, you know you’ve found some insulation. Another means for checking for insulation is to carve out a diminutive hole in a non-intrusive area, like behind a settee or in a closet space, to learn if the wall cavity is populated by anything, and if so, by how much insulation. In an ideal world, the wall cavity will be encapsulated entirely by an insulation material of some kind. Though regrettably, this method cannot confirm whether the whole wall is properly insulated, or whether the insulation has settled. The only way to do this is via a thermographic inspection from an energy auditor.
Meanwhile, if you have a cellar that is not conditioned and open to the exterior, you should calculate if insulation is fitted beneath the living area flooring. What’s more, in some instances, insulation is recommended even when the basement is conditioned. And, for cellars that represent enclosed spaces and feature cooling or heating devices, plumbing or air ducts, the perimeter of the area should be insulated as opposed to the floor itself. The appliances, like radiators or heated towel rails, or actual heating sources themselves, like hot water pipes, water heaters and fire ducts should all be properly insulated as well, especially when installed in an unconditioned space.
Vow to ventilate
The prospect of ‘backdrafting’ has to be of significant concern for anyone looking to properly seal their property – this term relates to indoor air pollution, and occurs when the home’s exhaust fans and various combustion appliances battle for fresh air. An exhaust fan could draw the combustion gases into the living area and enhance carbon monoxide levels to result in an unhealthy and potentially dangerous living environment.
In houses that rely on the burning of fuels for heating energy, such as wood, fuel oil or natural gas, you need to make sure that a suitable air supply is available. Broadly speaking, a single square inch of vent opening is necessary per every 1,000 BTU of device input heat. Soot, ash or burn blots surrounding the appliance, or the visual presence of smoke anywhere in the area whilst the device is in use, are indicators of poor ventilation and backdraft. If this is a noticeable and regular occurrence, it is well worth consulting a ventilation contractor or local utility company to assess the situation and offer their recommendations for a happy, healthy home.
Look at the lighting
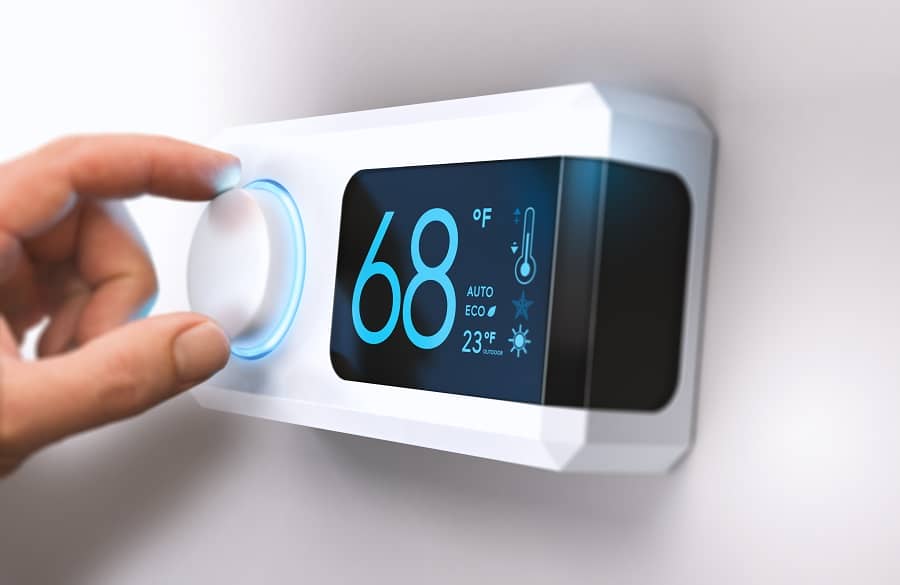
Lighting typically makes up around 10% of a household electricity bill. Check out each light bulb in the home and potentially switch to more efficient options such as LED bulbs or incandescents that emphasise on energy saving. Work out the level of brightness you want or require and pay attention to the lumens rating when shopping for new bulbs. Furthermore, you can look at means to use connected home devices or controls like timers, dimmers and sensors to tone down lighting usage.
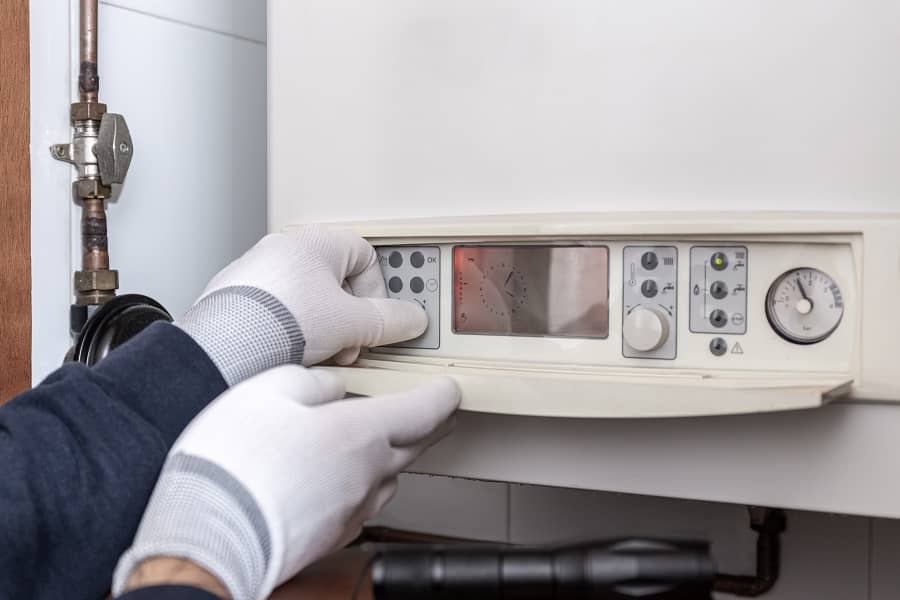
Service heating and cooling devices
Heating and cooling devices should be serviced on a yearly basis, or more so in line with manufacturer recommendations. For households featuring a forced air furnace, the filters should be inspected and replaced when necessary. Typically, they should be switched up about monthly or at least every other month, particularly during times of persistent use or when you are experiencing poor air quality within the walls of your home. Professional checks and cleaning of heating and cooling equipment should be performed at least annually.
Perhaps your heating and cooling systems have become outdated, and if your units are older than 15, you should seriously consider swapping them for modern, energy efficient versions. In doing so, you can massively decrease your energy usage, and more so still if the existing equipment is in tired nick. Examine ductwork for tell-tale signs of wear such as dirt streams, which are especially concerning if situated close to the seams. Indeed, this signifies an air leak, which can be covered up using a duct mastic. Apply proper insulation to any pipes or ductwork that course via unheated areas.
Home appliances and electricity use
Which home appliances are present and in use within a household has an effect on energy consumption and bills. Take note of which electrical appliances are in your home and jot down a rough estimate of how much energy they use. From there, you can think about ways and means to tone down your energy usage of frequently used devices.
Some of the measures you can take to trim energy consumption…
- Simply replacing an outdated device with a more contemporary, energy efficient version
- Adjusting the power saving settings on appliances such as TVs – utilising sleep timers etc.
- Using smart devices and energy management controls to monitor and temper unnecessary energy usage
- Unplugging devices that are not being used to prevent unwanted automatic switch-ons
Planning energy assessment changes throughout the home
Once you’ve identified the key areas where your home is experiencing energy loss, you can start to put together a plan surrounding plausible changes to make for improvements…
- Work out your energy spend (be it on a monthly or annual basis)
- Prioritise the areas of the home that are suffering from the biggest and most glaring energy losses
- Set a budget
- Work out the potential return on investment, and how long it will take to achieve, based around paying to improve energy efficiency in line with energy bill reductions
- Consider if you are definitely planning to stay in your current property, and whether an investment in energy efficiency is worth making to increase the value of the home
- Think about the benefits that any energy improvements would bring to your home and whether they would be worth making versus the cost. For instance, added comfort for inhabitants through the installation of double glazing
- Decide on a realistic timescale for when you want any repairs or improvements to be made
- Be honest about whether the work can be completed on a DIY basis, or whether professional services will be required to carry out the changes

Using professional home energy assessment services
After your DIY home energy audit is complete, it could be worth it to hire a professional to make sure no stone is left unturned in your quest to enhance efficiency and trim costs. It is worth contacting your energy supplier or utilities company to discuss the prospect at the very least; these companies will often provide initial energy assessments at a reduced rate, or even for free in some instances. You can compare your findings with theirs and re-affirm or adjust your thinking behind priority areas, whilst you’ll also gain a better gauge on some more difficult elements to assess, such as indoor air quality and the comfort of the living space.
Frequently Asked Questions
The first thing to do in a DIY home energy audit is to identify where any draughts may be coming from, also known as air leaks. This is generally one of the simplest tasks to complete within a home energy assessment, and a very important one – the removal of draughts or air leaks will not only make the space more comfortable to live in, but greatly enhance the efficiency of the property as well.
For a more detailed insight, take a look at our dedicated blog, How to perform a DIY home energy audit.
It is well worth doing an energy audit on a new build home if you aren’t purchasing the property from scratch after a recent construction. Ever-evolving technologies mean that even if the house is just a few years old, it might have been built without the very latest up-to-date best practices as it pertains to energy efficiency.
For a deeper insight, explore our blog, How to perform a DIY home energy audit.
A Home Energy Performance Certificate (EPC) offers an indication of the energy efficiency of a property to potential tenants or buyers.
The certificate will feature information surrounding the building’s typical energy usage and costs, and recommend means to reduce energy use and improve efficiency within the home. Be that adjusting the use of home radiators or underfloor heating systems, or any other ways to enhance efficiency.
To find out more, consult our dedicated blog, How Can I Make My Home More Energy Efficient?
Contact BestHeating for home energy audit help
This blog has hopefully provided an adequate basis for you to complete a DIY home energy audit, but if you have any further questions or would like more information and tips surrounding energy assessments or creating an ultimately energy efficient home, don’t hesitate to contact the BestHeating team. You can leave your thoughts in the comments section below, or contact us via Instagram, Facebook or Twitter.
With a background in sports journalism, John counts content writing amongst his key passions. He’s always peppering our Advice Centre feed with reasoned and researched home heating tips, and providing expert solutions to the questions you want answering. Fine football and music connoisseur. In his own head, at least.