What we’ll cover…
- How to prepare the heating system by draining it down
- Which materials and tools and materials are required for installation
- What to do to properly dress the radiator:
- Using PTFE tape to wrap valve tails
- Connecting the valve tails to the radiator
- Inserting bleed valve and blanking plugs
- Securely mounting the radiator to the wall:
- Where to create marking guidelines and bracket position spots
- The drilling of holes for wall plug insertions
- Hanging the radiator on brackets once dressed
- The radiator valves connection:
- Moving valve components over pipes
- Using a spanner to tighten valve nuts
- Recommendations for refilling the heating system after installation
A guide to installing your designer radiator
Installing a new radiator can often be a tricky process.
In this step-by-step guide, we explain how to dress and install a designer radiator.
Once you’ve cracked this, chances are you’ll never need to call a plumber again – well, unless it’s a plumbing emergency!
Follow the simple steps below for full instructions on how to install your radiator and get your room feeling warm and cosy – and looking great!
Before you install your radiator
Before installing your radiator you will have to drain down the system.
Visit our guide on how to drain down central heating before you begin.
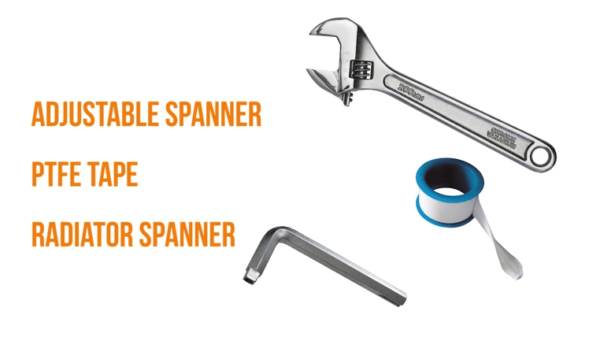
It is always best to dress your radiator before installation, to do this you will need –
Dressing your radiator
‘Dressing’ a radiator is the process of getting it ready for fitting to the wall.
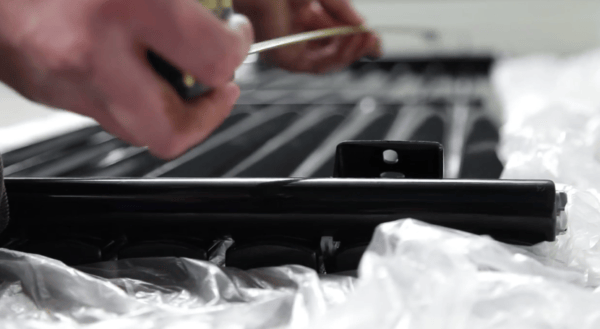
Step 1 – Wrap your valve tails & connect to the radiator
Firstly, you will need to take the radiator tail and wrap it with PTFE tape clockwise around 17 times.
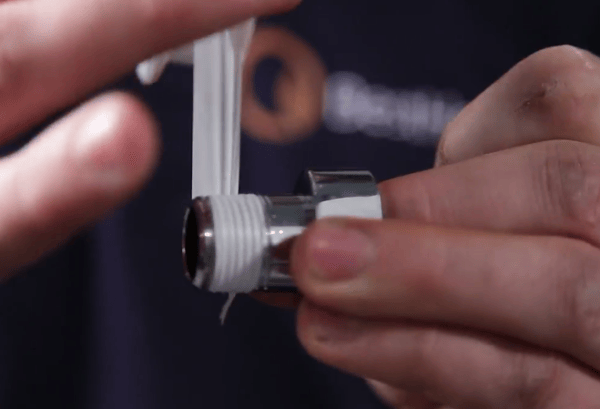
Using your rad spanner, wind the tail into the radiator (clockwise) until the thread disappears.
Step 2 – Insert blanking & bleed plugs
Provided with your new radiator will be an air vent (bleed valve) and a blanking plug. These can be inserted into either end at the top of the radiator.
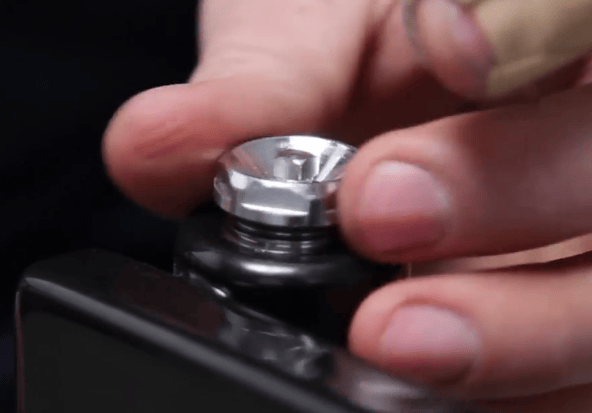
Using your adjustable spanner, tighten them up, being careful not to over-tighten and damage the O-ring.
Your radiator is now ready to be fitted to the wall.
How do I fix the radiator to the wall?
Depending upon which material you are fixing your radiator to, the tools may vary on each job. (Consult the manufacturing guidelines or a professional if you are unsure) For fixing to a brick wall, you will need –
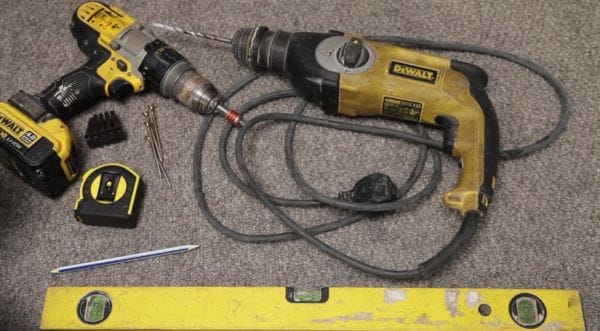
- A Hammer drill with a 7mm masonry bit
- A cordless screwdriver
- A tape measure
- Brown plugs
- Suitable screws
- A pencil
- A spirit level
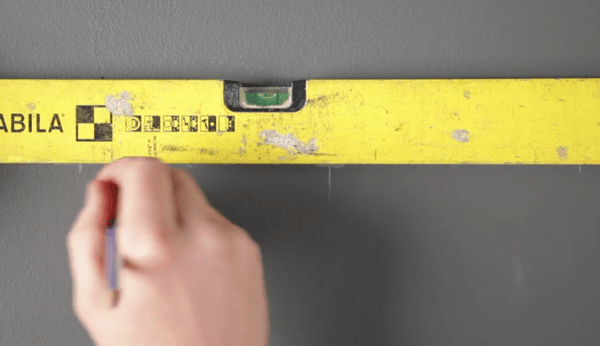
Step 1 – Mark your radiator’s centre line
Mark the centre line between both pipes – this is where the middle of the radiator should sit on the wall.
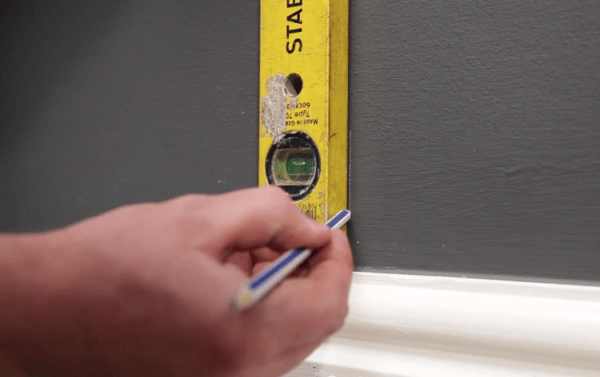
Step 2 – Mark the line for the bottom of the radiator
You will then need to work out how high you would like the bottom of the radiator to be from the floor.
Add the distance between the top of the bracket to the bottom of the radiator to this measurement.
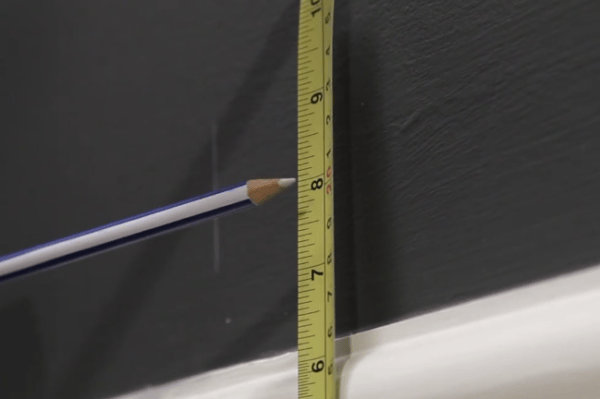
Mark this distance across your centre line.
Step 3 – Check bracket distance
After marking your centre line, you will need to work out the distance between the brackets on the back of the radiator.
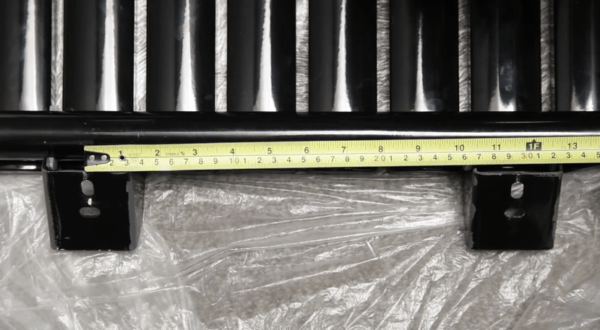
Step 4 – Mark this measurement on the wall
Divide this measurement by two and mark it on the wall.

Step 5 – Make your final measurements
The final measurement that you will need is the height distance between the top bracket and the bottom bracket.
Mark a centre line higher up the wall and mark the height and width of your radiator across your top centre line.
Step 6 – It’s time to get drilling
If you are happy with all the measurements you have made, you are ready to drill and plug the wall.

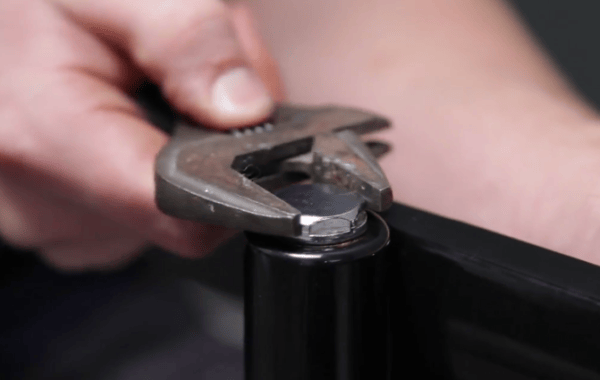
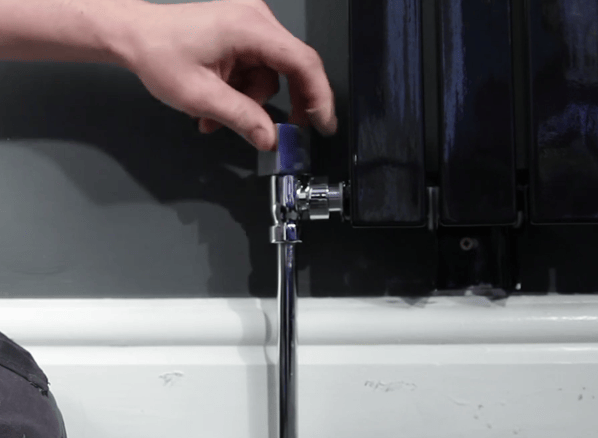
How do I install the valves?
Place your nut and olive over the water pipe and place the rad valve over the top…
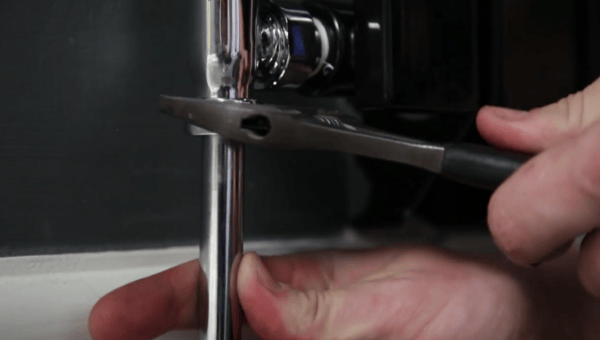
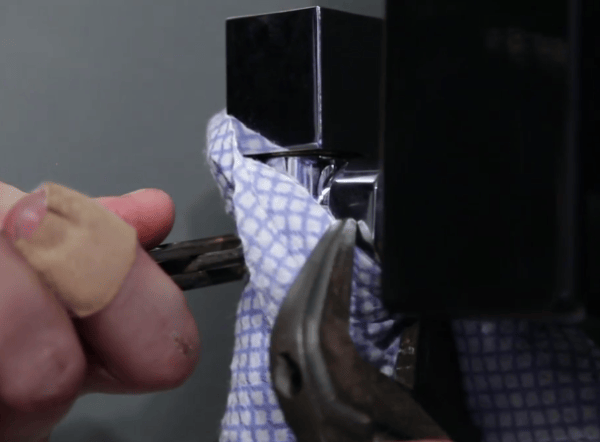
…and then, using your adjustable spanner, tighten up the nut. Place a rag on the body of the valve so you don’t damage it.
And finally, turn the valve anti-clockwise and your system is now ready to be re-filled.
And there you have it, your radiator should be on the wall!
If you still need advice…
If you’ve got any burning questions or need advice from the experts, be sure to send in your questions. You never know, we may feature them in our next blog post, too. Questions can be sent via the comments section below, Facebook or Twitter.
Or, if you are confident about getting the job done, watch the video of how we dress and hang a column radiator, below –
Please note: Our ‘How-To’ manuals are intended only as a guide to assist you with common home heating tasks. Please do not attempt to undertake this task if any of the instructions are unclear, or if you are in any doubt about what to do. Instead, seek advice from a professional.
Frequently Asked Questions
Electric radiators can be considered to be the easiest radiator replacement choice to install. They work via a simple ‘plug in and go’ method, negating the need for any invasive plumbing work to occur. And in addition to an easy fitting and operation, electric radiator replacement options bring various other advantages such as remote temperature control and an energy efficient performance that can lead to reduced energy bills.
To find out more about the finest modern radiator replacement options we have to offer, browse our blog, Obeying the rules of cool: a modern radiator replacement guide.
BestHeating offer a 20-year guarantee on cheap designer radiators, and indeed on many radiators that we stock.
Each of our cheap designer radiator listings also feature several specification details, including the size, material and BTU output of each radiator.
For further information, and help and advice on how to select the best cheap designer radiators on the market, explore our dedicated blog – Cheap Designer Radiators: Too Good To Be True?
Readily available specifications surrounding size, material and BTU output should be sought when shopping cheap designer radiators, as well as a decent warranty for peace of mind.
BestHeating offer a 20-year guarantee on all radiators, and our BTU Calculator can help you determine whether or not the cheap designer radiator you’ve identified will provide an adequate level of warmth for the room it will populate.
For further information, take a look at our dedicated blog – Cheap Designer Radiators: Too Good To Be True?
BestHeating offer an excellent selection of cheap designer radiators, some of which retail for as little as £80.
Many of our radiators are accompanied by a 20-year guarantee so buyers can enjoy peace of mind as it pertains to radiator performance, and a wide range of stylish options are available.
For further information surrounding cheap designer radiators, take a look at our dedicated blog on the subject – Cheap Designer Radiators: Too Good To Be True?
Several factors will determine if cheap designer radiators deliver an adequate BTU output, such as the size of the space they’ll be installed in, as well as the actual radiator size.
Furthermore, what you define as a cheap designer radiator will be influenced by a number of reasons, like what your radiator budget is, and how much you prioritise the look of your designer radiator in relation to performance quality and durability.
Our BTU Calculator can be used to show whether your chosen cheap designer radiator provides a high enough BTU output to adequately heat the room it will be fitted in. And for more information on the subject, you can take a look at our dedicated blog – Cheap Designer Radiators: Too Good To Be True?
In some cases, you might be able to fit new radiators yourself, especially if they are to operate with existing pipework. Our guide on how to fit a radiator can help.
For a professional job, grab a quote from a plumber or a central heating engineer.

John Lawless is SEO Manager at BestHeating and a recognised expert in home heating. With over a decade of experience in the industry, he blends technical insight with practical advice on everything from energy efficiency to radiator design, and more. John’s work has featured in national media and leading home & garden publications, and he leads the editorial strategy for the BestHeating Advice Centre – helping homeowners make smarter heating choices with confidence.